ReportServer is a free and open source business intelligence (OSBI) platform with powerful reporting and analysis tools. It gathers data from multiple business touch points and generates different reports from the data. It provides a responsive and unified interface to display the data to the user. It provides powerful ad hoc reporting capabilities and integrates Jasper and Eclipse BIRT in one unified environment.
In this tutorial, we will install ReportServer on CentOS 7 server.
Prerequisite
- Minimal CentOS 7 server
- Root privileges
Install ReportServer
Before installing any package it is recommended that you update the packages and repository using the following command.
yum -y update
Install JAVA
Once your system is updated, we will install the latest version of Oracle Java into the server. Run the following command to download the RPM package.
wget --no-cookies --no-check-certificate --header "Cookie:oraclelicense=accept-securebackup-cookie" "http://download.oracle.com/otn-pub/java/jdk/8u131-b11/d54c1d3a095b4ff2b6607d096fa80163/jdk-8u131-linux-x64.rpm"
If you do not have wget installed, you can run the yum -y install wget to install wget. Now install the downloaded RPM using the following command.
yum -y localinstall jdk-8u131-linux-x64.rpm
You can now check the Java version using the following command.
java -version
You will get the following output.
[root@liptan-pc ~]# java -version
java version "1.8.0_131"
Java(TM) SE Runtime Environment (build 1.8.0_131-b11)
Java HotSpot(TM) 64-Bit Server VM (build 25.131-b11, mixed mode)
You will also need to check if JAVA_HOME environment variable is set. Run the following command for same.
echo $JAVA_HOME
If you get a null or blank output, you will need to manually set the JAVA_HOME variable. Edit the .bash_profile file using your favourite editor. In this tutorial, we will use nano editor. Run the following command to edit .bash_profile using nano.
nano ~/.bash_profile
Now add the following lines at the at the end of the file.
export JAVA_HOME=/usr/java/jdk1.8.0_131/
export JRE_HOME=/usr/java/jdk1.8.0_131/jre
Now source the file using the following command.
source ~/.bash_profile
Now you can run the echo $JAVA_HOME command again to check if the environment variable is set or not.
[root@liptan-pc ~]# echo $JAVA_HOME
/usr/java/jdk1.8.0_131/
Install Tomcat Server
Once JAVA is installed, you will need to install Tomcat server. Tomcat is an application server for JAVA applications. Run the following command to create tomcat user and group.
groupadd tomcat
The above command will create a group named tomcat.
useradd -M -s /bin/nologin -g tomcat -d /opt/tomcat tomcat
The above command will create a user tomcat having no login shell and home directory as /opt/tomcat.
Now download the Tomcat archive from Tomcat download page using the following command.
cd ~
wget http://www-us.apache.org/dist/tomcat/tomcat-8/v8.5.15/bin/apache-tomcat-8.5.15.tar.gz
Now we will install the tomcat server in /opt/tomcat directory. Create a new directory and extract the archive using the following command.
mkdir /opt/tomcat
tar xvf apache-tomcat-8*tar.gz -C /opt/tomcat --strip-components=1
Now provide the ownership of the files to tomcat user and group using the following command.
chown -R tomcat:tomcat /opt/tomcat
Install PostgreSQL
Now that we have Tomcat set up, you can proceed to install PostgreSQL database server. Run the following command to install PostgreSQL.
yum -y install postgresql-server postgresql-contrib
Now initialize the database using the following command.
postgresql-setup initdb
Start and enable PostgreSQL database service using the following command.
systemctl start postgresql
systemctl enable postgresql
Now run the following command to change the password of PostgreSQL root user called postgres using the following command.
sudo -u postgres psql postgres
\password postgres
Enter \q or <kbd>ctrl + D</kbd> buttons to exit Postgres shell.
Now run the following command to create a new database for ReportServer database reportserver.
sudo -u postgres createdb reportserver
Now run the following command to create a new user for ReportServer database.
sudo -u postgres createuser -P -s -e reportserver
You will need to enter the password twice. You should get the following output.
[root@liptan-pc ~]# sudo -u postgres  createuser -P -s -e reportserver
Enter password for new role:
Enter it again:
CREATE ROLE reportserver PASSWORD 'md5171d269772c6fa27e2d02d9e13f0538b' SUPERUSER CREATEDB CREATEROLE INHERIT LOGIN;
Now assign the database user to the database using following command.
sudo -u postgres psql
GRANT ALL PRIVILEGES ON DATABASE reportserver TO reportserver;
exit the shell using \q.
Now you will need to edit a PostgreSQL configuration file so that the database can be connected without the postgres user. Edit the pg_hba.conf using any editor.
nano /var/lib/pgsql/data/pg_hba.conf
Find the following lines and change peer to trust and idnet to md5.
# TYPE  DATABASE        USER            ADDRESS                 METHOD

# "local" is for Unix domain socket connections only
local   all             all                                     peer
# IPv4 local connections:
host    all             all             127.0.0.1/32            ident
# IPv6 local connections:
host    all             all             ::1/128                 ident
Once updated, the configuration should look like shown below.
# TYPE  DATABASE        USER            ADDRESS                 METHOD

# "local" is for Unix domain socket connections only
local   all             all                                     trust
# IPv4 local connections:
host    all             all             127.0.0.1/32            md5
# IPv6 local connections:
host    all             all             ::1/128                 md5
Now restart PostgreSQL server using the following command.
systemctl restart postgresql
Install ReportServer
Now that we have both Tomcat and PostgreSQL setup, we can download and setup ReportServer. Run the following command to download ReportServer using following command.
wget https://downloads.sourceforge.net/project/dw-rs/bin/3.0/RS3.0.2-5855-2016-05-29-17-55-24-reportserver-ce.zip -O reportserver.zip
You can always find the link to the latest version using the following
link.
Now remove everything in the web ROOT folder of Tomcat installation using the following command.
rm -rf /opt/tomcat/webapps/ROOT/*
Now extract the ReportServer archive using the following command.
unzip reportserver.zip -d /opt/tomcat/webapps/ROOT/
Now copy the configuration file from the example files using the following command.
cp /opt/tomcat/webapps/ROOT/WEB-INF/classes/persistence.properties.example /opt/tomcat/webapps/ROOT/WEB-INF/classes/persistence.properties
Now open the persistence.properties file and provide the database information which we have created earlier.
nano /opt/tomcat/webapps/ROOT/WEB-INF/classes/persistence.properties
Now add the following lines at the end of the file.
hibernate.connection.username=reportserver
hibernate.connection.password=StrongPassword
hibernate.dialect=net.datenwerke.rs.utils.hibernate.PostgreSQLDialect
hibernate.connection.driver_class=org.postgresql.Driver
hibernate.connection.url=jdbc:postgresql://localhost/reportserver
Change the username, password and database name according to the database set created by you.
Now provide the necessary ownership using the following command.
chown -R tomcat:tomcat /opt/tomcat/webapps/ROOT/
Now initialize the ReportServer database using the following command.
psql -U reportserver -d reportserver -a -f /opt/tomcat/webapps/ROOT/ddl/reportserver-RS3.0.2-5855-schema-PostgreSQL_CREATE.sql
It will ask you the password of your database user, provide the password and it will run the DDL script to initialize the database.
Finally, you will need to create a Systemd script to run tomcat server.
Create a new Systemd file using the following command.
nano /etc/systemd/system/tomcat.service
Copy and paste the following content into the file.
[Unit]
Description=Apache Tomcat Web Application Container
After=syslog.target network.target

[Service]
Type=forking

Environment=JRE_HOME=/usr/java/jdk1.8.0_131/jre
Environment=CATALINA_HOME=/opt/tomcat
Environment=CATALINA_BASE=/opt/tomcat
Environment='JAVA_OPTS="-Djava.awt.headless=true -Xmx2g  -XX:+UseConcMarkSweepGC -Dfile.encoding=UTF8 -Drs.configdir=/opt/reportserver"'

ExecStart=/opt/tomcat/bin/startup.sh
ExecStop=/opt/tomcat/bin/shutdown.sh

User=tomcat
Group=tomcat
UMask=0007
RestartSec=10
Restart=always

[Install]
WantedBy=multi-user.target
Now you can start the application using the following command.
systemctl start tomcat
To enable Tomcat service to automatically start at boot time, run the following command.
systemctl enable tomcat
To check if the service is running, run the following command.
systemctl status tomcat
If the service is running, you should get the following output.
[root@liptan-pc reportserver]# systemctl status tomcat
? tomcat.service - Apache Tomcat Web Application Container
   Loaded: loaded (/etc/systemd/system/tomcat.service; enabled; vendor preset: disabled)
   Active: active (running) since Wed 2017-06-07 15:00:32 UTC; 4min 41s ago
 Main PID: 13179 (java)
   CGroup: /system.slice/tomcat.service
           ??13179 /usr/java/jdk1.8.0_131/jre/bin/java -Djava.util.logging.config.file=/opt/tomcat/conf/logging.propert...

Jun 07 15:00:32 liptan-pc systemd[1]: Starting Apache Tomcat Web Application Container...
Jun 07 15:00:32 liptan-pc systemd[1]: Started Apache Tomcat Web Application Container.
You can now access your application on the following URL.
http://your-server-ip:8080
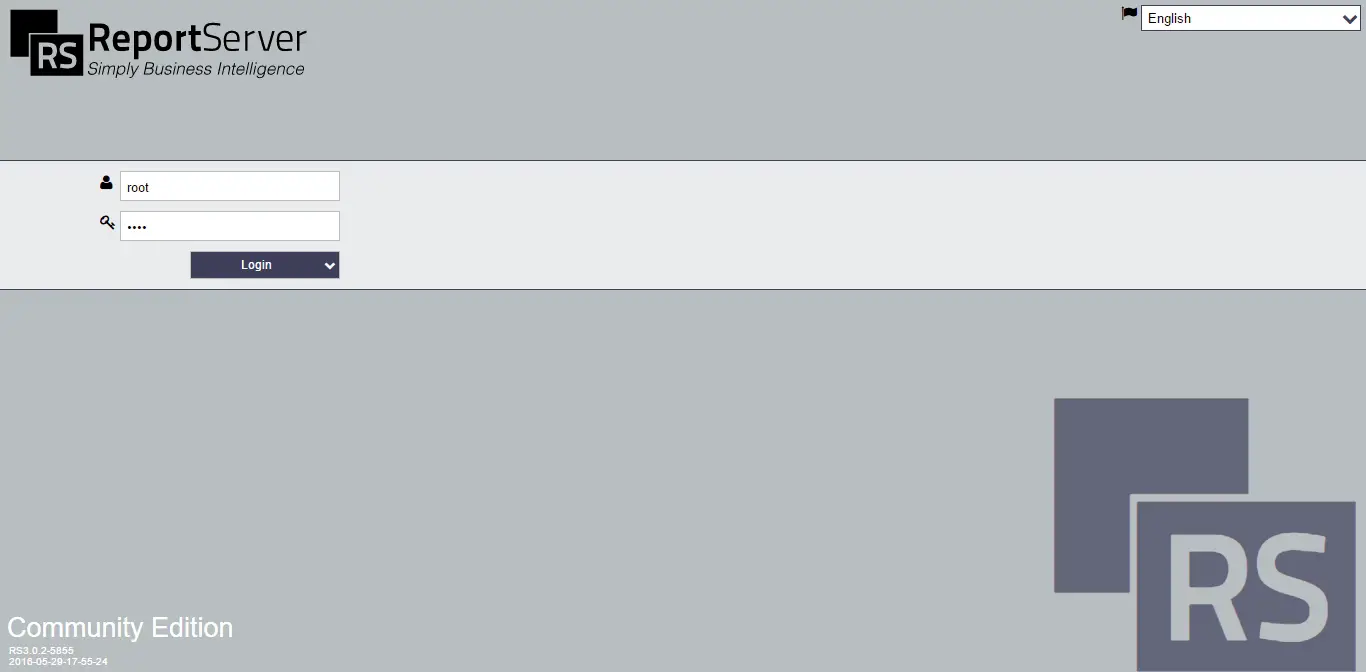
You will see the following login interface.
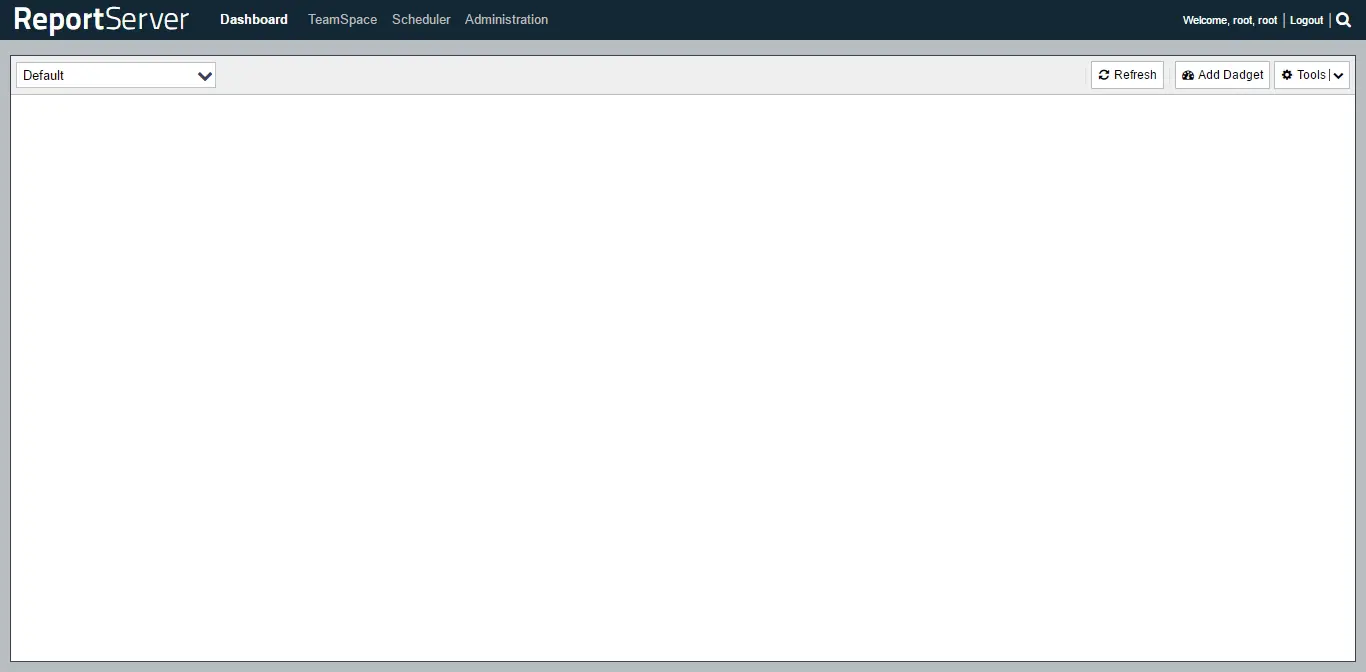
You can now log in to your website using the username root and password root. Once you are logged in, you will see your default dashboard.
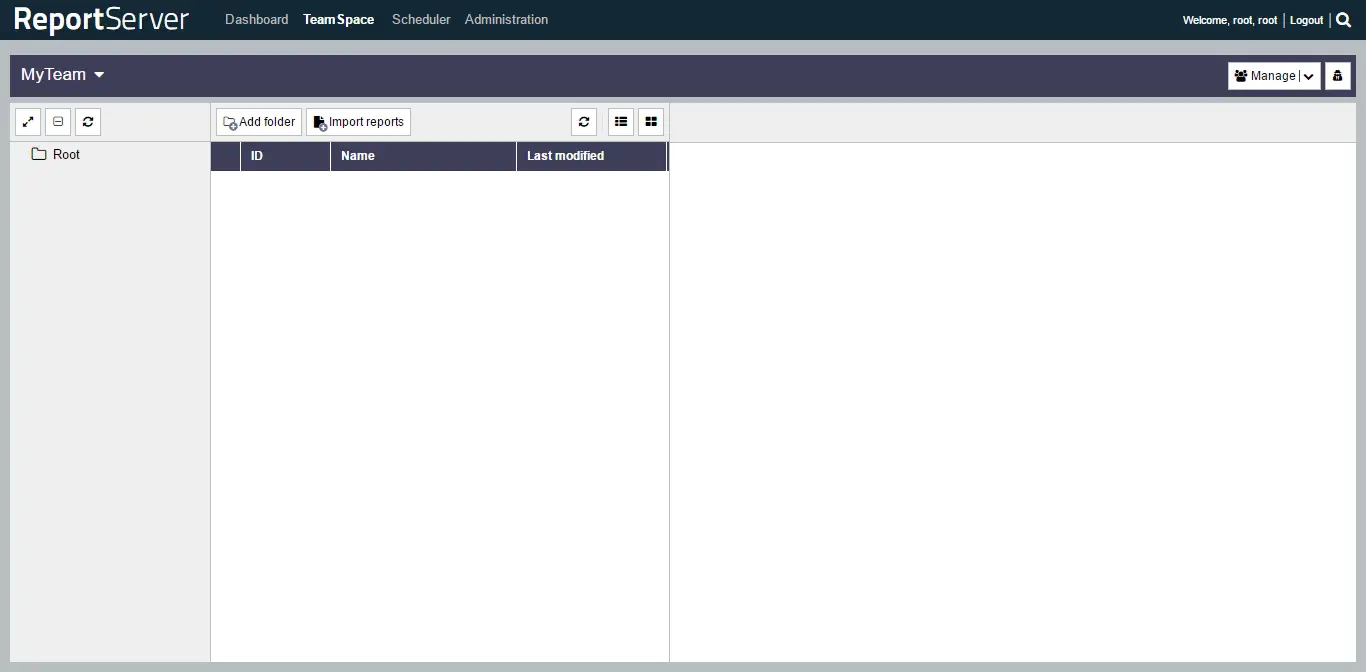
On the dashboard, you can add the tools and widgets according to your choice. You can access TeamSpace by clicking on TeamSpace link from the top bar.
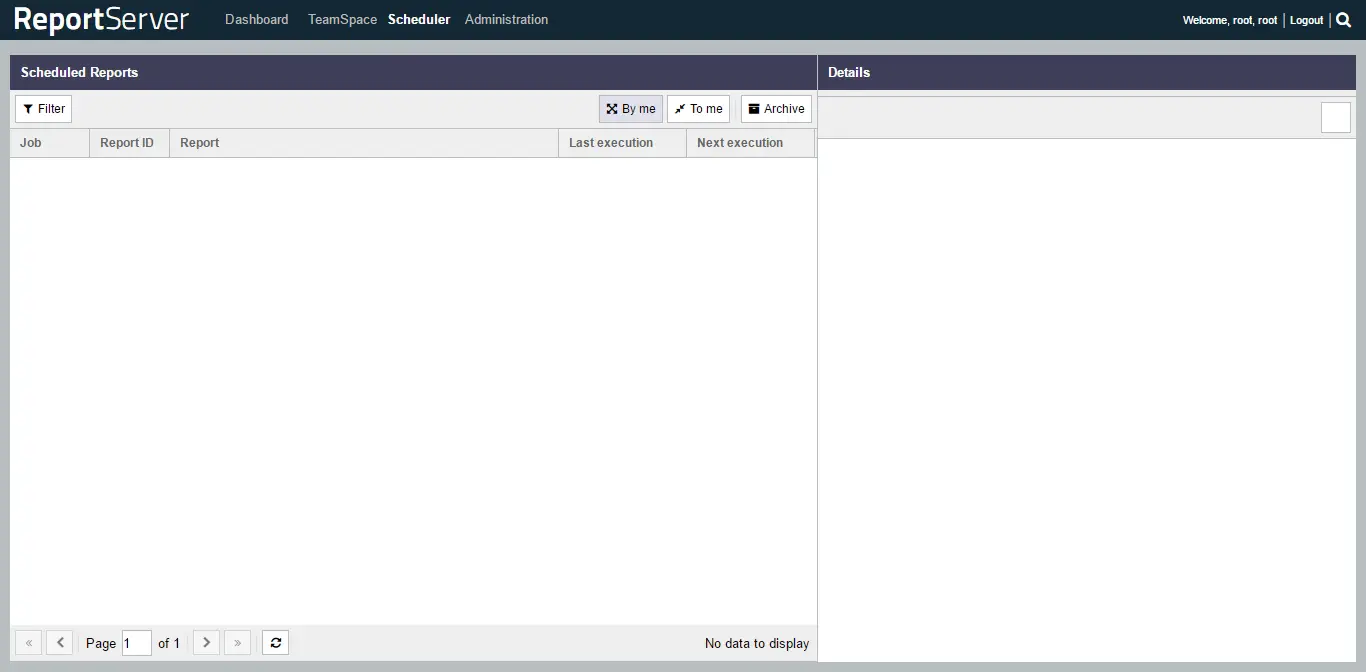
You can configure scheduled reporting from Scheduler menu. You can access Scheduler by clicking Scheduler link from top bar.
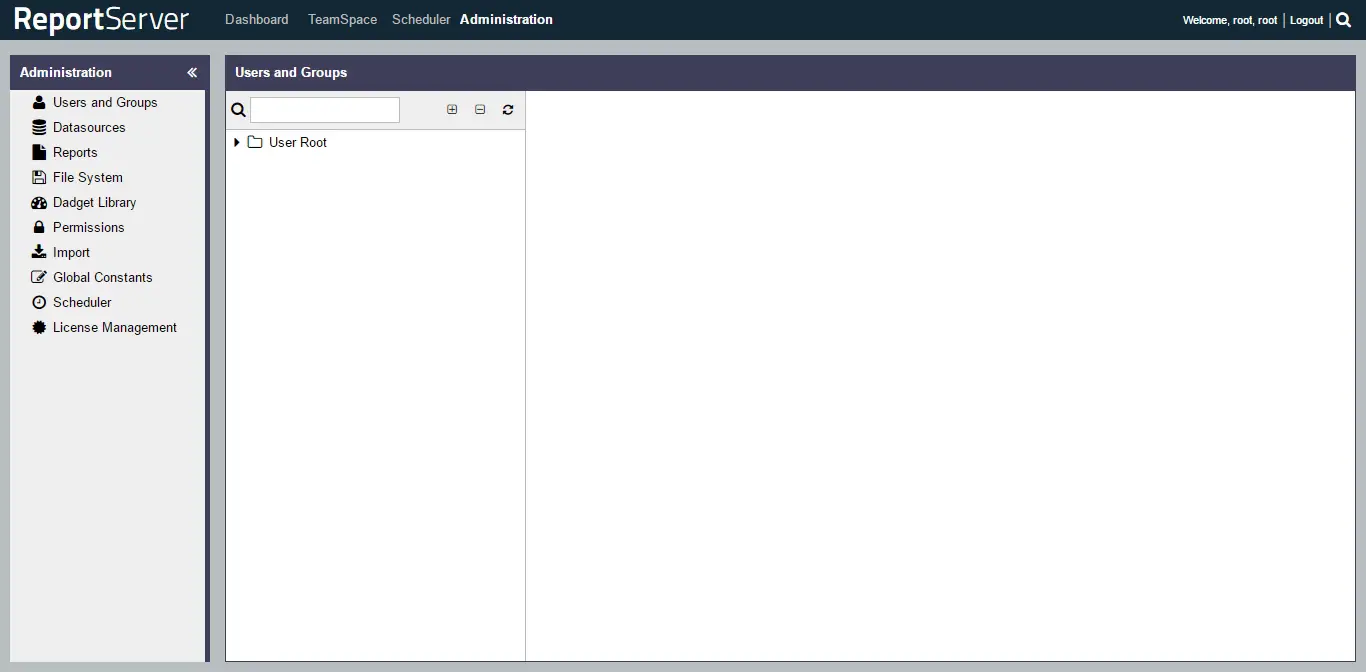
To change the password and access administration dashboard, click on Administration link from the top menu.
Conclusion
In this tutorial, we learned how to install ReportServer on CentOS 7. You can now use the application to analyse and generate different reports for your firm.