27 August 2020

Set up Foreman and manage it with Ansible

Managing Foreman recently and got bored to configure it each time I set it up from scratch.

This blog post will cover initial foreman install on a CentOS 7 server and then manage it with ansible through the foreman ansible collections.

The repository used in this article is locate here.

Servers recommendations

Minimum Foreman server hardware recommendations to support CentOS 7 & 8.

  • CentOS 7
  • 4 CPUs
  • 8Gb RAM
  • 100 Gb HDD
Minimum ansible server recommendations:

  • CentOS 7
  • 1 CPU
  • 256 Mb RAM
  • 8 Gb HDD

Setting up the Foreman server

Configure the OS

Create a CentOS 7 server with the above hardware setting and make sure to have a working DNS for that server or edit its own /etc/hosts with that hostname. For simplicity I am using foreman.cloudalbania.com -> 192.168.0.180.

$ cat /etc/hosts
...
192.168.0.180    foreman.cloudalbania.com    foreman

Reboot the server and make sure the new hostname is set.

Install Katello & Foreman

Next step is to install the foreman application with katello content management.
This is a pretty straightforward step:

Install repositories
yum -y localinstall https://yum.theforeman.org/releases/1.24/el7/x86_64/foreman-release.rpm
yum -y localinstall https://fedorapeople.org/groups/katello/releases/yum/3.14/katello/el7/x86_64/katello-repos-latest.rpm
yum -y localinstall https://yum.puppet.com/puppet6-release-el-7.noarch.rpm
yum -y localinstall https://dl.fedoraproject.org/pub/epel/epel-release-latest-7.noarch.rpm
yum -y install foreman-release-scl

Then update the OS and restart if any kernel or glibc upgrade
yum -y update

Install katello packages to prepare for the installation step later. This might take some time
yum -y install katello

Finally install foreman with katello. change the variables accordingly:
$ foreman-installer --scenario katello --foreman-initial-organization 'CloudAlbania' --foreman-initial-location 'YYZ' --foreman-initial-admin-username 'admin' --foreman-initial-admin-password 'password123' --foreman-foreman-url 'https://foreman.cloudalbania.com' -v

After 10-15 minutes the server should be up and running and reachable from your browser

Install and configure the ansible server

To manage the Foreman server you can already do all the configurations in the GUI. If you need to have a more documented and automated configuration then Ansible is the way.

In this guide I am using a CentOS 7 server.

$ yum -y install epel-release
$ yum -y install ansible git

Make sure the ansible host can connect to the foreman server without a password the sake of this guide. You can implement vaults or sudo users in a production environment for better security

Create your ansible workplace:
$ mkdir -p git/foreman
$ cd git /foreman

Install the foreman.ansible collections:
$ ansible-galaxy collection install theforeman.foreman

Install the ansible dependencies with pip:
$ pip install subnet ipaddress rpm deb apypie PyYAML

Now your ansible server should be ready to configure the foreman server.

Collections Usage

Full documentation for each individual module can be obtained with the ansible-doc command as follows:

ansible-doc theforeman.foreman.foreman_architecture

Your first playbook

In order to start configuring the Foreman server we can start with a Day 1 configuration item which is the Organization name.
NOTE: The Foreman collections do not need to connect to the foreman server itself rather we will use the local connection and then ansible will reach to foreman on port 443 (the API).

The first playbook we can start with is the definition of the Organization itself. Even though we have defined it in the setup command above, it is a good practice to have it defined in a configuration management system for consistency.

The playbook content:
[root@ansible foreman]# cat foreman1.yml
- name: Day 1
  hosts: localhost
  tasks:
    - name: "Create CI Organization"
      theforeman.foreman.organization:
        username: "admin"
        password: "password123"
        server_url: "https://foreman.cloudalbania.com"
        name: "{{ item }}"
        state: present
        validate_certs: no
      loop:
        - "CloudAlbania"
        - "Organization 2"

And when run we will see the below:


and in the foreman organizations list we will see:

If we run again the playbook there will be no changes

This is the end of this guide. Will follow up with a more detailed Day 1 configurations

10 May 2018

Compile latest OpenSSL for CentOS 5


Sometimes we are still managing very old hardware or OS versions and that we have nothing in our hands to change it till it phases out.

Here is an example from CentOS 5 where the  latest OpenSSL package is 0.9.8e and of course it does not support TLS 1.2

Let's start with the download and uncompressing the OpenSSL package. The latest package supporting CentOS at the time of this writing from the OpenSSL webpage is 1.0.2o.

$ cd /usr/src/
$ curl -O -L https://www.openssl.org/source/openssl-1.0.2o.tar.gz
$ tar zxvf openssl-1.0.2o.tar.gz
$ cd openssl-1.0.2o

Some libraries that we need in our system in order for a successful compilation of the package are below. allow also the dependencies to be installed in this process such as kernel-headers, cpp, cvs etc.

$ yum install expat-devel gettext-devel zlib-devel gcc autoconf gcc libtool perl-core zlib-devel


Now it's time to configure and compile OpenSSL. It is worth to run the tests to see if there are any unexpected errors.

$ ./config --prefix=/usr/local/openssl --openssldir=/usr/local/openssl shared zlib
$ make
$ make test

prefix and openssldir sets the output paths for OpenSSL. shared will force crating shared libraries and zlib means that compression will be performed by using zlib library

In order to install the libraries and the new binary you need to execute:

$ make install

...
OpenSSL shared libraries have been installed in:
  /usr/local/openssl
...
Sources of OpenSSL are required to compile other tools such us curl, Apache, Nginx etc., so I don't remove them.

To test the new binary you can initially check the version and then try the connectivity with a TLS1.2 only website such as GitHub:

$ /usr/local/openssl/bin/openssl version
OpenSSL 1.0.2o  27 Mar 2018

$ /usr/local/openssl/bin/openssl s_client -connect github.com:443 -tls1_2 | grep Protocol
    Protocol  : TLSv1.2

Success!

Add new version to PATH

After the installation you will probably want to check the version of OpenSSL but it will print out old version. Why? Because it's also installed on your server. I rarely override packages installed via yum. The reason is that when there is new version of OpenSSL and you will install it via yum, it will simply override compiled version, and you will have to recompile it again.

Instead of overriding files I personally like to create new profile entry and force the system to use compiled version of OpenSSL.

In order to do that, create following file:

$ vi /etc/profile.d/openssl.sh
and paste there following content:

$ cat /etc/profile.d/openssl.sh
pathmunge /usr/local/openssl/bin

Save the file and reload your shell, for instance log out and log in again. Then you can check the version of your OpenSSL client. If you have errors loading shared libraries continue reading

Link libraries

In order to fix the problem with loading shared libraries we need to create an entry in ldconfig.

Create following file:

$ vi /etc/ld.so.conf.d/openssl-1.0.2o.conf

And paste the following contents:

$ cat /etc/ld.so.conf.d/openssl-1.0.2o.conf
/usr/local/openssl/lib

We simply told the dynamic linker to include new libraries. After creating the file you need to reload linker by using following command:

$ ldconfig -v

Check the version of your OpenSSL now. It should print out
OpenSSL 1.0.2o  27 Mar 2018

Curl

In order to have full HTTPS functionality in most cases we need to use curl to access HTTP data. The default curl version in CentOS 5 of course is compiled to use an outdated version of OpenSSL so we need to recompile a new version supporting the latest OpenSSL version we just compiled

$ cd /usr/src/
$ curl -O -L https://curl.haxx.se/download/curl-7.59.0.tar.gz
$ tar zxvf curl-7.59.0.tar.gz
$ cd curl-7.59.0
$ ./configure --prefix=/usr/local/curl --with-ssl=/usr/local/openssl --enable-http --enable-ftp LDFLAGS=-L/usr/local/opensssl/lib CPPFLAGS=-I/usr/local/openssl/include
$ make

$ make install
$ libtool --finish /usr/local/curl --with-ssl=/usr/local/openssl/lib

and that will do your curl compile process to allow browsing sites with latest TLS1.2 encryption crypto.

22 March 2018

Mount iSCSI target to your Virtualbox VMs

Spent some time on this mounting an iSCSI LUN from a NetApp volume.
In your NetApp SVM enter the new initiator with a default name according to the RFQ:

iqn.2018-03.freebsd.com:freebsd


After creating the netapp svm, lun, lif, etc you can mount the new iSCSI volume with the following command.

PS C:\Program Files\Oracle\VirtualBox> 
.\VBoxManage.exe storageattach freebsd --storagectl "SATA" --port 0 --type hdd --medium iscsi --server 192.168.0.162 --target "iqn.1992-08.com.netapp:sn.944d91542e4811e8b5b800505600c301:vs.4" --tport 3260 --initiator "iqn.2018-03.freebsd.com:freebsd"

Here is an screenshot from the Virtual Media Managet (Ctrl-D) in Virtualbox


Now you can go on and install your preferred OS.


06 October 2017

Set up a Powershell dev environment

For us sysadmins it is important to create scripts on the fly and make things work. By working in an ad-hoc way, our scripts will get lost, not cured and especially not searchable.

Initial tools setup

To better organize our code some personal best practices follow:
Environment: Windows
Install and download TortoiseGit and of course GIT. While installing GIT just select the defaults for you.

Saving code

For every single script it is a better idea to integrate or put all its relative files in a separate folder. Then put all these folders in a single one named: scripts.

After installing TortoiseGIT it is a good idea to go with the First Start wizard.
Select the defaults and in the "configure user information" screen input your name and a valid email address.


The next thing to do is to integrate all your scripts in a GIT repo. With the help of TortoiseGIT this can be easily achieved with only the right click of the mouse

And you are done with the repository creation.

After each working sessions it is a good idea to commit your work. With TortoiseGIT again this can be easily done by a mouse right-click.

Then fill out the commit screen with an appropriate message and then click commit

The commit confirmation screen will show up.


Do the same steps (commit) after each coding session to save your work and your coding history.

Pushing code remotely

After working locally, you might consider storing your code in a server repo. A good one is at GitLab which offers private repos for free.

11 July 2017

How to Install ReportServer on CentOS 7

ReportServer is a free and open source business intelligence (OSBI) platform with powerful reporting and analysis tools. It gathers data from multiple business touch points and generates different reports from the data. It provides a responsive and unified interface to display the data to the user. It provides powerful ad hoc reporting capabilities and integrates Jasper and Eclipse BIRT in one unified environment.
In this tutorial, we will install ReportServer on CentOS 7 server.
Prerequisite
  • Minimal CentOS 7 server
  • Root privileges

Install ReportServer

Before installing any package it is recommended that you update the packages and repository using the following command.
yum -y update

Install JAVA

Once your system is updated, we will install the latest version of Oracle Java into the server. Run the following command to download the RPM package.
wget --no-cookies --no-check-certificate --header "Cookie:oraclelicense=accept-securebackup-cookie" "http://download.oracle.com/otn-pub/java/jdk/8u131-b11/d54c1d3a095b4ff2b6607d096fa80163/jdk-8u131-linux-x64.rpm"
If you do not have wget installed, you can run the yum -y install wget to install wget. Now install the downloaded RPM using the following command.
yum -y localinstall jdk-8u131-linux-x64.rpm
You can now check the Java version using the following command.
java -version
You will get the following output.
[root@liptan-pc ~]# java -version
java version "1.8.0_131"
Java(TM) SE Runtime Environment (build 1.8.0_131-b11)
Java HotSpot(TM) 64-Bit Server VM (build 25.131-b11, mixed mode)
You will also need to check if JAVA_HOME environment variable is set. Run the following command for same.
echo $JAVA_HOME
If you get a null or blank output, you will need to manually set the JAVA_HOME variable. Edit the .bash_profile file using your favourite editor. In this tutorial, we will use nano editor. Run the following command to edit .bash_profile using nano.
nano ~/.bash_profile
Now add the following lines at the at the end of the file.
export JAVA_HOME=/usr/java/jdk1.8.0_131/
export JRE_HOME=/usr/java/jdk1.8.0_131/jre
Now source the file using the following command.
source ~/.bash_profile
Now you can run the echo $JAVA_HOME command again to check if the environment variable is set or not.
[root@liptan-pc ~]# echo $JAVA_HOME 
/usr/java/jdk1.8.0_131/

Install Tomcat Server

Once JAVA is installed, you will need to install Tomcat server. Tomcat is an application server for JAVA applications. Run the following command to create tomcat user and group.
groupadd tomcat
The above command will create a group named tomcat.
useradd -M -s /bin/nologin -g tomcat -d /opt/tomcat tomcat
The above command will create a user tomcat having no login shell and home directory as /opt/tomcat.
Now download the Tomcat archive from Tomcat download page using the following command.
cd ~
wget http://www-us.apache.org/dist/tomcat/tomcat-8/v8.5.15/bin/apache-tomcat-8.5.15.tar.gz
Now we will install the tomcat server in /opt/tomcat directory. Create a new directory and extract the archive using the following command.
mkdir /opt/tomcat
tar xvf apache-tomcat-8*tar.gz -C /opt/tomcat --strip-components=1
Now provide the ownership of the files to tomcat user and group using the following command.
chown -R tomcat:tomcat /opt/tomcat

Install PostgreSQL

Now that we have Tomcat set up, you can proceed to install PostgreSQL database server. Run the following command to install PostgreSQL.
yum -y install postgresql-server postgresql-contrib
Now initialize the database using the following command.
postgresql-setup initdb
Start and enable PostgreSQL database service using the following command.
systemctl start postgresql
systemctl enable postgresql
Now run the following command to change the password of PostgreSQL root user called postgres using the following command.
sudo -u postgres psql postgres
\password postgres
Enter \q or <kbd>ctrl + D</kbd> buttons to exit Postgres shell.
Now run the following command to create a new database for ReportServer database reportserver.
sudo -u postgres createdb reportserver
Now run the following command to create a new user for ReportServer database.
sudo -u postgres createuser -P -s -e reportserver
You will need to enter the password twice. You should get the following output.
[root@liptan-pc ~]# sudo -u postgres  createuser -P -s -e reportserver
Enter password for new role:
Enter it again:
CREATE ROLE reportserver PASSWORD 'md5171d269772c6fa27e2d02d9e13f0538b' SUPERUSER CREATEDB CREATEROLE INHERIT LOGIN;
Now assign the database user to the database using following command.
sudo -u postgres psql
GRANT ALL PRIVILEGES ON DATABASE reportserver TO reportserver;
exit the shell using \q.
Now you will need to edit a PostgreSQL configuration file so that the database can be connected without the postgres user. Edit the pg_hba.conf using any editor.
nano /var/lib/pgsql/data/pg_hba.conf
Find the following lines and change peer to trust and idnet to md5.
# TYPE  DATABASE        USER            ADDRESS                 METHOD

# "local" is for Unix domain socket connections only
local   all             all                                     peer
# IPv4 local connections:
host    all             all             127.0.0.1/32            ident
# IPv6 local connections:
host    all             all             ::1/128                 ident

Once updated, the configuration should look like shown below.
# TYPE  DATABASE        USER            ADDRESS                 METHOD

# "local" is for Unix domain socket connections only
local   all             all                                     trust
# IPv4 local connections:
host    all             all             127.0.0.1/32            md5
# IPv6 local connections:
host    all             all             ::1/128                 md5
Now restart PostgreSQL server using the following command.
systemctl restart postgresql

Install ReportServer

Now that we have both Tomcat and PostgreSQL setup, we can download and setup ReportServer. Run the following command to download ReportServer using following command.
wget https://downloads.sourceforge.net/project/dw-rs/bin/3.0/RS3.0.2-5855-2016-05-29-17-55-24-reportserver-ce.zip -O reportserver.zip
You can always find the link to the latest version using the following link.
Now remove everything in the web ROOT folder of Tomcat installation using the following command.
rm -rf /opt/tomcat/webapps/ROOT/*
Now extract the ReportServer archive using the following command.
unzip reportserver.zip -d /opt/tomcat/webapps/ROOT/
Now copy the configuration file from the example files using the following command.
cp /opt/tomcat/webapps/ROOT/WEB-INF/classes/persistence.properties.example /opt/tomcat/webapps/ROOT/WEB-INF/classes/persistence.properties
Now open the persistence.properties file and provide the database information which we have created earlier.
nano /opt/tomcat/webapps/ROOT/WEB-INF/classes/persistence.properties
Now add the following lines at the end of the file.
hibernate.connection.username=reportserver
hibernate.connection.password=StrongPassword
hibernate.dialect=net.datenwerke.rs.utils.hibernate.PostgreSQLDialect
hibernate.connection.driver_class=org.postgresql.Driver
hibernate.connection.url=jdbc:postgresql://localhost/reportserver
Change the username, password and database name according to the database set created by you.
Now provide the necessary ownership using the following command.
chown -R tomcat:tomcat /opt/tomcat/webapps/ROOT/
Now initialize the ReportServer database using the following command.
psql -U reportserver -d reportserver -a -f /opt/tomcat/webapps/ROOT/ddl/reportserver-RS3.0.2-5855-schema-PostgreSQL_CREATE.sql
It will ask you the password of your database user, provide the password and it will run the DDL script to initialize the database.
Finally, you will need to create a Systemd script to run tomcat server.
Create a new Systemd file using the following command.
nano /etc/systemd/system/tomcat.service
Copy and paste the following content into the file.
[Unit]
Description=Apache Tomcat Web Application Container
After=syslog.target network.target

[Service]
Type=forking

Environment=JRE_HOME=/usr/java/jdk1.8.0_131/jre
Environment=CATALINA_HOME=/opt/tomcat
Environment=CATALINA_BASE=/opt/tomcat
Environment='JAVA_OPTS="-Djava.awt.headless=true -Xmx2g  -XX:+UseConcMarkSweepGC -Dfile.encoding=UTF8 -Drs.configdir=/opt/reportserver"'

ExecStart=/opt/tomcat/bin/startup.sh
ExecStop=/opt/tomcat/bin/shutdown.sh

User=tomcat
Group=tomcat
UMask=0007
RestartSec=10
Restart=always

[Install]
WantedBy=multi-user.target
Now you can start the application using the following command.
systemctl start tomcat
To enable Tomcat service to automatically start at boot time, run the following command.
systemctl enable tomcat
To check if the service is running, run the following command.
systemctl status tomcat
If the service is running, you should get the following output.
[root@liptan-pc reportserver]# systemctl status tomcat
? tomcat.service - Apache Tomcat Web Application Container
   Loaded: loaded (/etc/systemd/system/tomcat.service; enabled; vendor preset: disabled)
   Active: active (running) since Wed 2017-06-07 15:00:32 UTC; 4min 41s ago
 Main PID: 13179 (java)
   CGroup: /system.slice/tomcat.service
           ??13179 /usr/java/jdk1.8.0_131/jre/bin/java -Djava.util.logging.config.file=/opt/tomcat/conf/logging.propert...

Jun 07 15:00:32 liptan-pc systemd[1]: Starting Apache Tomcat Web Application Container...
Jun 07 15:00:32 liptan-pc systemd[1]: Started Apache Tomcat Web Application Container.
You can now access your application on the following URL.
http://your-server-ip:8080
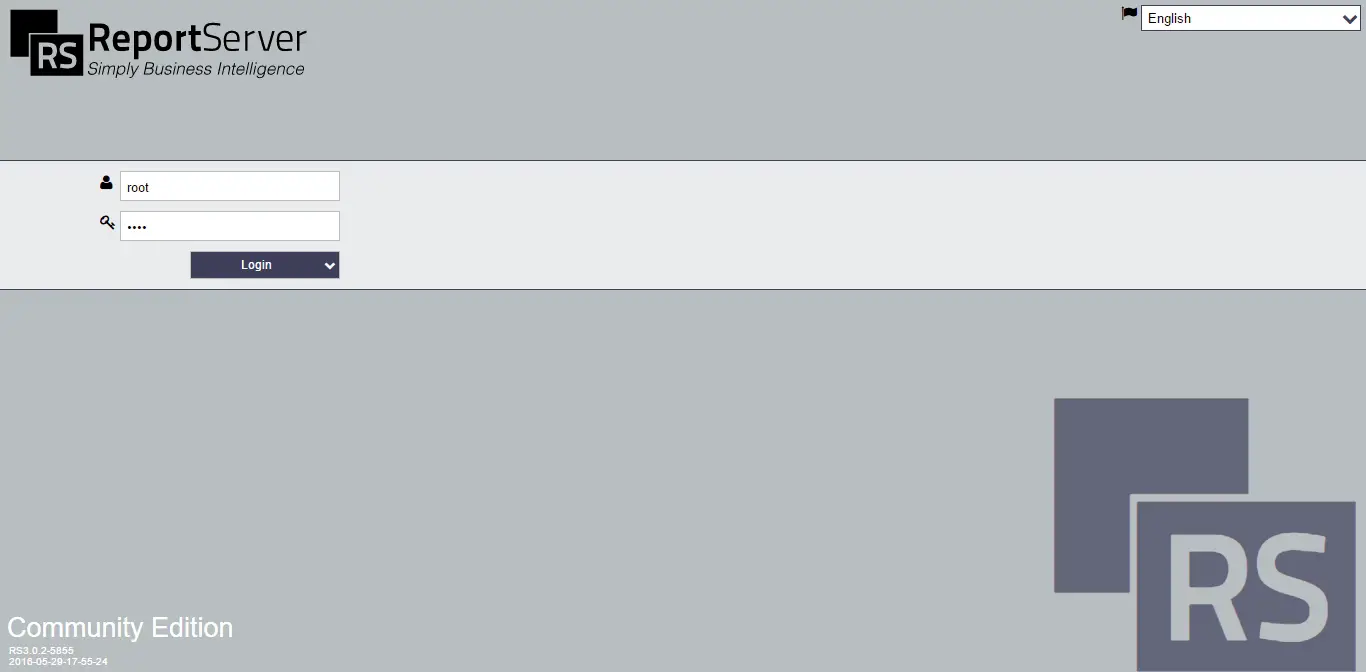
You will see the following login interface.
ReportServer Login
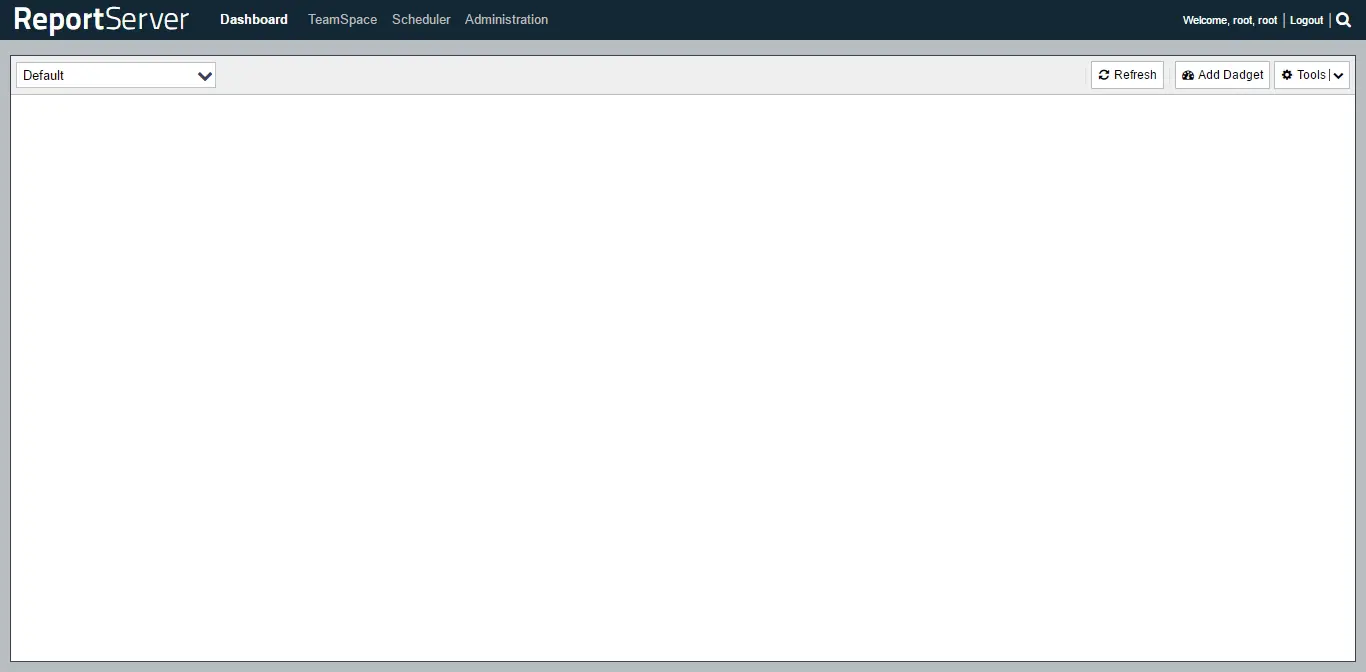
You can now log in to your website using the username root and password root. Once you are logged in, you will see your default dashboard.
ReportServer Dashboard
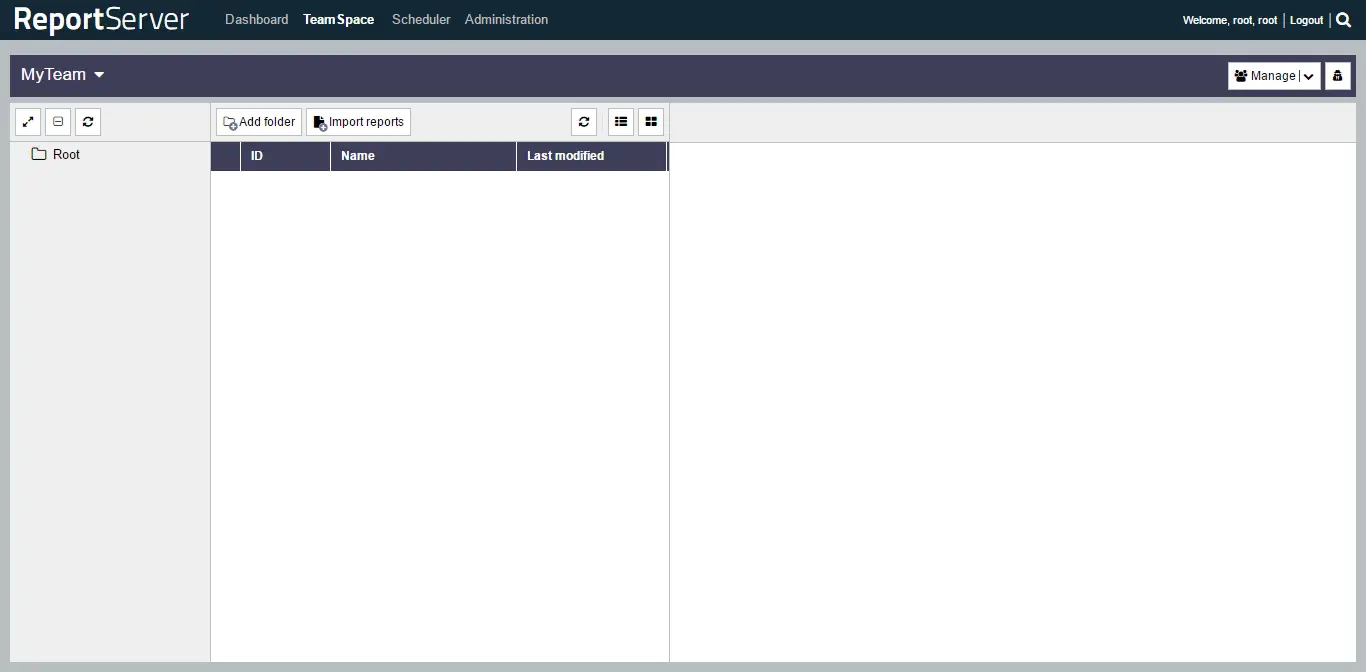
On the dashboard, you can add the tools and widgets according to your choice. You can access TeamSpace by clicking on TeamSpace link from the top bar.
TeamSpace
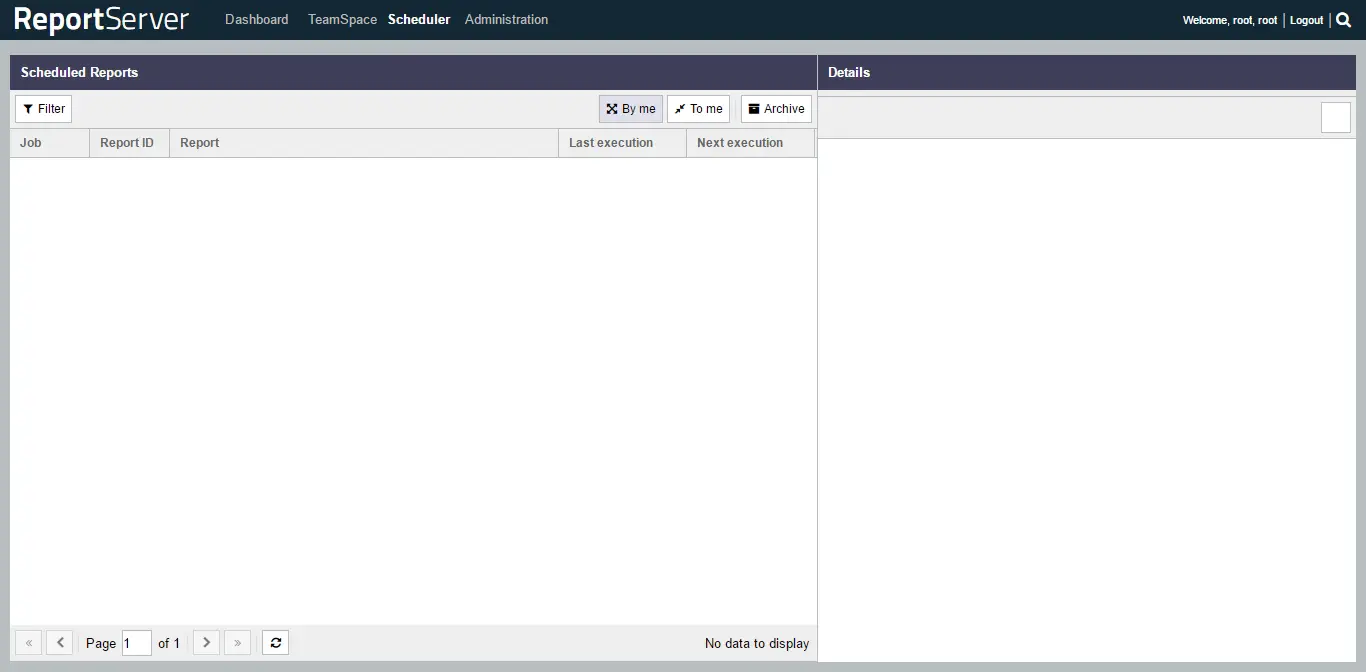
You can configure scheduled reporting from Scheduler menu. You can access Scheduler by clicking Scheduler link from top bar.
Report Scheduler
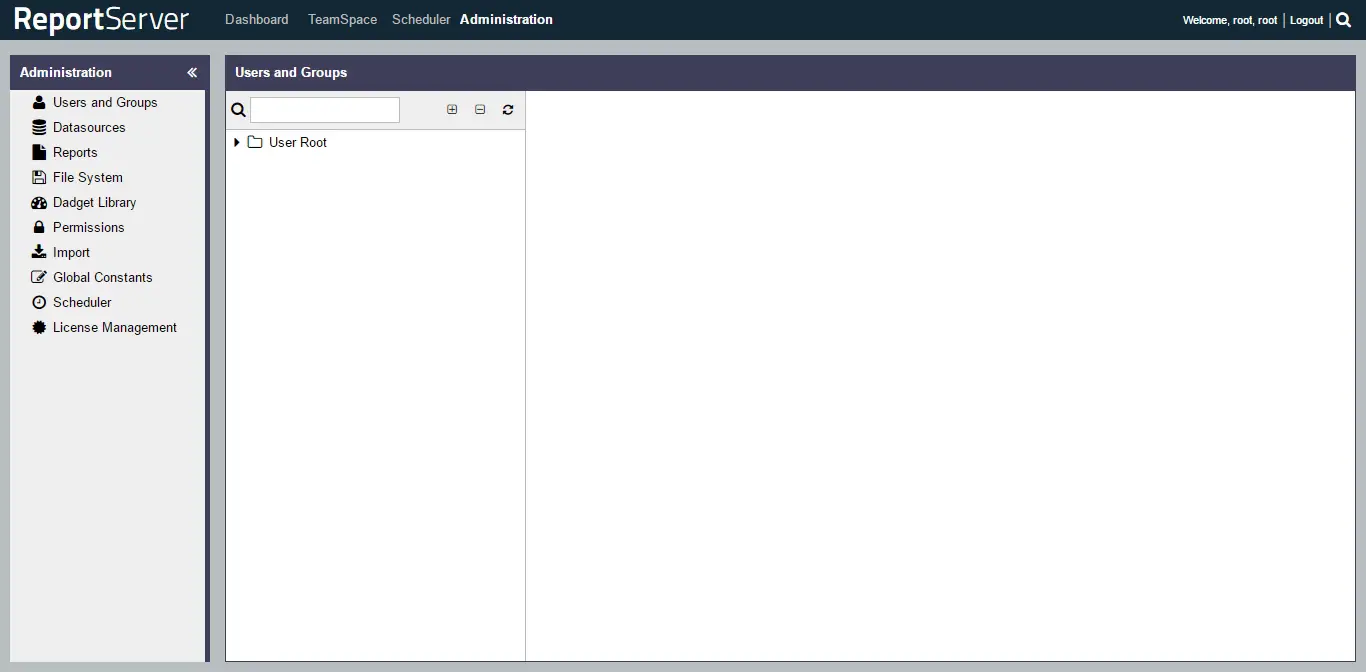
To change the password and access administration dashboard, click on Administration link from the top menu.
Change password in ReportServer

Conclusion

In this tutorial, we learned how to install ReportServer on CentOS 7. You can now use the application to analyse and generate different reports for your firm.

18 June 2017

Get your public IP address from Ripe NCC

If you are using PowerShell and in the console or the scripts you need to have your public IP address then Ripe NCC can really help you get this.


You can query RIPE stat servers and receive your IP address as JSON and save it in a variable to use it later. To get the JSON data just excecute this:

C:\Windows\system32> $a = (Invoke-WebRequest -Uri "https://stat.ripe.net/data/whats-my-ip/data.json" | ConvertFrom-Json) 

and you should have this output:

PS C:\Windows\system32> $a

status           : ok
server_id        : stat-app15
status_code      : 200
version          : 0.1
cached           : False
see_also         : {}
time             : 2017-06-18T21:49:27.221689
messages         : {}
data_call_status : supported
process_time     : 24
build_version    : 2017.6.15.213
query_id         : 000c524e-5470-11e7-8856-00505688b546
data             : @{ip=123.123.123.123}

If you just need the IP address then filter out only the IP address object like this:
$ip_address = (Invoke-WebRequest -Uri "https://stat.ripe.net/data/whats-my-ip/data.json" | ConvertFrom-Json).data.ip

output:
PS C:\Windows\system32> $ip_address
123.123.123.123


Creating a new LDAP server with FreeIPA and configure to allow vSphere authentication

Was setting up a new FreeIPA sever for my homelab and found out that the default configuration in FreeIPA does not allow you to use VMware v...